
Taking on a full-scale commercial property rehabilitation is not for the faint of heart. It is a massive undertaking that marries high-stakes financial investment with intricate logistical puzzles. Whether you have recently acquired a dilapidated warehouse to convert into a trendy mixed-use space, or you are tasked with modernizing a decades-old office building to attract premium tenants, the reality of the project will quickly set in. You are not just applying a fresh coat of paint; you are dissecting a complex organism of concrete, steel, wiring, and piping, and attempting to put it back together better than it was before.
The primary difference between a highly profitable, stabilized asset and a financially draining logistical nightmare comes down to two things: meticulous project management and strict chronological staging. When rehabilitating a massive space, tasks cannot be completed out of order without incurring massive financial penalties and timeline delays. You cannot hang drywall before the wiring is inspected, and you certainly cannot install pristine new finishes if the roof above is actively leaking. The sequence of operations is your holy grail.
Furthermore, a successful rehabilitation requires a deep understanding of the modern commercial real estate landscape. Today’s tenants expect smart building capabilities, exceptional energy efficiency, open and flexible floor plans, and strict adherence to accessibility standards. Retrofitting an older building to meet these modern demands requires foresight, a generous contingency budget, and an army of highly vetted professionals.
This guide is designed to provide you with a comprehensive, step-by-step roadmap to sequence a complex rehabilitation project efficiently. By following this blueprint from the initial environmental assessments and structural demolition to the final architectural finishes, you will be equipped to mitigate risks, manage your budgets effectively, and deliver a revitalized property that commands top-tier market rates.
Phase 1: Assess, Plan, and Clear the Canvas

Conduct a Feasibility Study Before Tearing Down Walls
Long before a sledgehammer swings, the unseen elements of your property must be thoroughly investigated. Older buildings often harbor legacy materials and structural deficiencies that can obliterate a budget if discovered mid-project. Your first step is to commission comprehensive environmental audits, specifically Phase I and, if necessary, Phase II Environmental Site Assessments (ESAs). These audits will identify the presence of hazardous materials such as asbestos in floor tiles or pipe insulation, lead-based paints, or hidden soil contamination from previous industrial tenants.
Simultaneously, a structural engineer must assess the integrity of the building’s foundation, load-bearing walls, and roof trusses. Settling foundations or compromised masonry can drastically alter your architectural plans. Because coordinating these early assessments sets the tone for the entire timeline, it is highly recommended to secure comprehensive management teams from day one. Partnering with high-level commercial renovation services during this initial feasibility stage helps you lock in realistic timelines, draft unified architectural plans, and establish a firm baseline budget that includes a mandatory 15% to 20% contingency fund for unforeseen site conditions.
To ensure your planning phase is airtight, prioritize the following steps:
-
Zoning and Code Verification: Confirm that your intended use for the building complies with local zoning ordinances. A warehouse-to-retail conversion, for example, may trigger new parking requirements.
-
Historical Society Approvals: If the building is located in a historic district, exterior modifications may require extensive review boards, delaying your start date.
-
As-Built Drawings: Commission accurate as-built blueprints if the original plans are missing. You cannot plan a new layout without knowing exactly what currently exists.
Streamline Your Demolition and Waste Management Strategy
Once the plans are approved and permits are pulled, the physical transformation begins with demolition. Gutting a large commercial space is a monumental logistical challenge. It requires careful orchestration of labor, heavy machinery, and waste removal, all while ensuring the safety of workers and preventing damage to adjacent properties or municipal infrastructure.
You must develop a strict waste management strategy. This involves securing the necessary permits for street closures, staging dumpsters, and scheduling regular debris removal to prevent the site from becoming a dangerous bottleneck. Demolition should be categorized into soft demo (removing carpets, drywall, non-load-bearing framing, and drop ceilings) and hard demo (saw-cutting concrete slabs, removing masonry, or dismantling heavy HVAC equipment). Providing clear directives to specialists handling commercial building clean outs ensures that hazardous materials are disposed of legally, heavy debris is hauled away efficiently, and salvageable assets—like historic brick, old-growth timber, or recyclable metals—are preserved or monetized, keeping the construction schedule moving without costly delays.
Phase 2: Weatherproof and Secure the Building Envelope
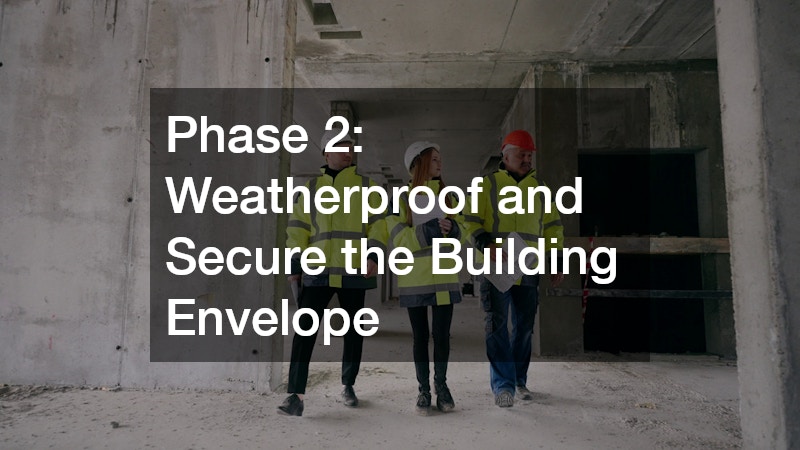
Prioritize Top-Down Protection to Prevent Interior Damage
With the interior gutted to the studs and concrete, the absolute most critical phase of construction begins: securing the building envelope. The envelope consists of the roof, exterior walls, and foundation—the physical barriers between the interior of your investment and the destructive forces of nature. Any interior work, from running electrical conduit to framing walls, is entirely compromised if the building is not watertight. Water intrusion is the single greatest enemy of a rehabilitation project, leading to rot, mold, rusted infrastructure, and massive rework costs.
Securing the envelope must happen from the top down. Thoroughly inspect the existing roof decking, insulation boards, and the waterproof membrane. Look for ponding water, blistering, compromised flashing around parapet walls, and clogged internal scuppers or drains. Engaging a reputable commercial roofing contractor to patch failing areas, apply a restorative elastomeric coating, or perform a complete tear-off and replacement is the absolute first step in the physical construction sequence. Only when the roof is certified watertight can the interior trades safely begin their rough-ins.
When addressing the exterior shell, keep these critical factors in mind:
-
Masonry Repointing: Inspect exterior brick or block walls for crumbling mortar. Tuckpointing prevents moisture from seeping through the walls and damaging interior framing.
-
Soffit and Fascia Repair: Ensure all roof overhangs are secure and properly ventilated to prevent moisture buildup in the roof assembly.
-
Below-Grade Waterproofing: If the property has a basement or below-grade parking, assess foundation walls for hydrostatic pressure leaks and apply necessary sealants or weeping tile systems.
Upgrade Fenestrations for Energy Efficiency and Security
Once the roof is secure, attention must shift to the fenestrations—the windows, doors, and storefronts. In older buildings, original single-pane windows and warped aluminum frames are massive liabilities. They leak conditioned air, allow moisture intrusion, and offer minimal security against break-ins. Upgrading these elements is not just an aesthetic choice; it is a vital step in modernizing the building’s energy profile and meeting current thermal and safety codes.
Modern commercial tenants demand abundant natural light alongside low utility costs. You will need to coordinate closely with commercial glass companies to design and install modern curtain walls or storefront systems. Upgrading to double-pane, low-emissivity (Low-E) glass filled with argon gas dramatically reduces solar heat gain, which in turn lowers the overall load requirements for the HVAC system. Furthermore, incorporating impact-resistant or tempered glass at the street level provides crucial security and liability protection, instantly elevating the building’s curb appeal and market value.
Phase 3: Overhaul the “Nervous System” of the Building
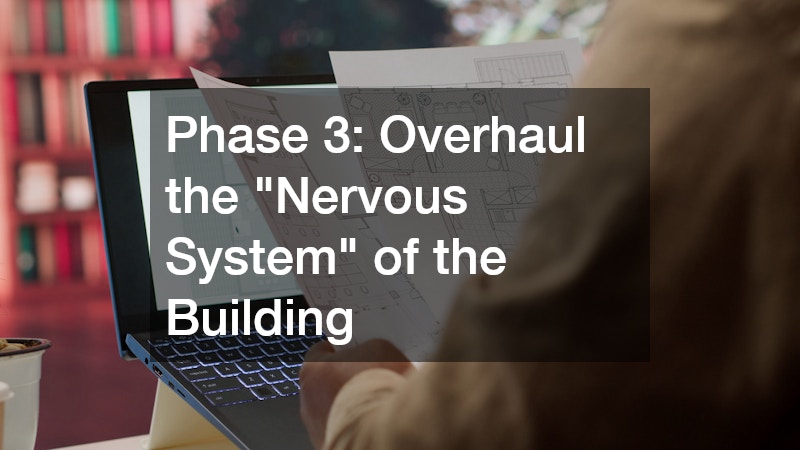
Modernize Power Grids to Meet High-Tech Tenant Demands
With the building sealed and protected from the elements, the intricate work of overhauling the property’s infrastructure begins. The electrical grid acts as the nervous system of your building, and legacy electrical systems simply cannot handle the demands of modern commerce. Decades ago, a standard office or light industrial space required basic power for lighting and standard outlets. Today, that same space might require massive power draws for server farms, high-capacity industrial machinery, smart-building automation systems, or a bank of electric vehicle (EV) charging stations in the parking lot.
The process of upgrading the power grid starts at the utility pole. You must assess whether the incoming service drop provides adequate amperage and if three-phase power is available and required for your target tenant class. Bringing in a licensed commercial electrician at this juncture is non-negotiable. They will be responsible for mapping out thousands of feet of new conduit, upgrading main breaker panels and subpanels, and ensuring the entire grid complies with strict local fire and life-safety codes. This rough-in phase is incredibly complex, requiring precise coordination to ensure that conduits are run through walls and ceilings before the framing is closed up with drywall.
Key electrical considerations during this phase include:
-
Low-Voltage Wiring: Simultaneously plan for data drops, fiber optic internet lines, security camera wiring, and access control systems alongside standard power lines.
-
Emergency Power Systems: Depending on the building’s size and use, you may need to install backup generators or dedicated emergency lighting circuits to comply with egress codes.
-
Lighting Control Systems: Install occupancy sensors, daylight harvesting systems, and programmable lighting panels to maximize energy efficiency and qualify for green building certifications.
Retrofit Piping and HVAC for Maximum Water and Air Flow
Parallel to the electrical overhaul, the plumbing and mechanical systems must be entirely retrofitted. Old commercial buildings are notorious for failing cast-iron waste lines, corroded galvanized water supply pipes, and wildly inefficient, fossil-fuel-reliant heating systems. Relying on legacy plumbing and HVAC infrastructure is a massive liability that will inevitably lead to emergency service calls, property damage, and unhappy tenants.
The mechanical overhaul usually begins with tearing out the old ductwork and heavy rooftop units (RTUs) or boiler systems. Modernizing the climate control often involves installing variable refrigerant flow (VRF) systems or highly efficient, multi-zone RTUs that allow different tenants or departments to control their own micro-climates. On the plumbing side, working alongside a skilled commercial plumber is essential for configuring high-efficiency drainage, replacing aging supply lines with durable copper or PEX, and upgrading all restrooms to meet strict Americans with Disabilities Act (ADA) compliance. This includes installing hands-free fixtures, ensuring proper clearances for mobility devices, and verifying that the main municipal water and sewer lines can handle the increased capacity of the newly rehabilitated building.
Phase 4: Restructure for Flow, Function, and Accessibility

Reconfigure the Floor Plan for Modern Layouts
Once the building’s rough mechanical, electrical, and plumbing (MEP) systems are mapped and installed within the skeleton of the building, the focus shifts to spatial flow. The way people move through a commercial space dictates its functionality and desirability. Older properties are often compartmentalized, featuring maze-like corridors, drop ceilings that make spaces feel claustrophobic, and rigidly defined rooms that do not cater to modern, collaborative work styles or flexible retail layouts.
Reconfiguring the floor plan often requires significant structural modification. This is where adaptive reuse truly takes shape. You may need to knock down non-load-bearing walls to create expansive, open-concept areas, or vault the ceilings by removing old drop grids to expose the ductwork and trusses for an industrial-chic aesthetic. For more dramatic layout shifts, the heavier aspects of building construction come into play. If load-bearing walls must be removed to achieve the desired open span, new concrete footings may need to be poured and heavy steel I-beams hoisted into place to carry the structural load. Every framing modification must be meticulously engineered to ensure the building’s structural integrity remains uncompromised while achieving a layout that maximizes leasable square footage.
When designing the new floor plan, prioritize these architectural flows:
-
Clear Sightlines: For retail spaces, unobstructed views from the entrance to the back of the store pull customers inward. For offices, natural light should penetrate deep into the interior core.
-
Acoustic Management: Open floor plans require careful consideration of sound dampening. Plan for acoustic ceiling baffles, insulated interior walls for private meeting rooms, and sound-absorbing materials.
-
Egress and Fire Safety: Every floor plan alteration must be reviewed against fire codes to ensure maximum travel distances to fire exits are not exceeded and that egress corridors are sufficiently wide.
Optimize Shipping, Receiving, and Warehouse Access Points
For industrial, flex-space, or large-scale retail properties, the interior flow is only half the equation; the logistical flow of goods moving in and out of the building is equally critical. A beautifully designed warehouse is useless if a 53-foot semi-truck cannot safely back into the loading dock, or if forklifts cannot maneuver materials efficiently from the receiving bay to the storage floor. Modernizing the exterior access points is a major selling point for prospective industrial tenants.
This optimization involves assessing the turning radius in the truck court, repairing or pouring new concrete approach aprons, and upgrading dock levelers and weather seals to prevent energy loss during loading operations. Furthermore, consulting with specialized commercial garage door companies is highly advised to install high-cycle, insulated roll-up barriers. These modern doors not only improve warehouse security and climate control but can be equipped with high-speed automated motors and safety photo-eyes, drastically improving the operational efficiency and safety of a busy shipping and receiving department.
Phase 5: Apply Durable, High-Impact Surface Finishes

Invest in High-Traffic, Low-Maintenance Flooring Solutions
As the project nears completion and the drywall is taped, sanded, and primed, the focus transitions to the architectural finishes. The surfaces of a commercial building endure an incredible amount of abuse, from the constant foot traffic of hundreds of employees to the heavy, abrasive movement of pallet jacks and rolling inventory. Choosing the right flooring is a delicate balance of aesthetic appeal, upfront cost, and long-term maintenance requirements.
The specific flooring material must be tailored to the property’s end-use. Luxury vinyl tile (LVT) might be perfect for an office lobby due to its durability and wood-look aesthetic, while polished concrete is favored in modern retail spaces. For industrial spaces, laboratories, or high-traffic corridors, the concrete slab requires intense preparation, including moisture mitigation testing, shot blasting, or diamond grinding. Once prepped, applying a seamless layer of commercial epoxy flooring offers an unmatched level of durability. It provides superior chemical resistance against spills, creates a highly reflective surface that brightens the workspace, and delivers a rugged, easy-to-clean finish that will last for decades under heavy operational use.
Key considerations for flooring installation include:
-
Moisture Testing: Never install flooring over a concrete slab without conducting relative humidity (RH) testing. Trapped moisture will cause adhesives to fail and coatings to peel.
-
Transition Strips: Ensure smooth, ADA-compliant transitions between different flooring materials (e.g., from carpet tile in an office to epoxy in a hallway) to prevent trip hazards.
-
Curing Times: Factor in adequate curing times for floor coatings and adhesives before allowing foot traffic or moving in heavy equipment, or you risk permanent indentation and damage.
Utilize Color Psychology and Protective Coatings for Walls
The final major step in the rehabilitation process is applying the wall and ceiling finishes. Paint does more than just make a space look clean; it influences the mood of the occupants, reflects lighting to reduce energy costs, and serves as a protective barrier for the drywall and structural elements beneath. Selecting the right sheens and materials is critical for the longevity of the aesthetic. Flat paints may hide drywall imperfections, but they are impossible to clean. Instead, eggshell or satin finishes are preferred for standard walls, while high-gloss or epoxy-based paints are necessary for restrooms, breakrooms, or wet areas where frequent sanitization is required.
In a large commercial space, the application process requires efficiency and scale. Hiring professional teams for commercial painting is essential to manage the volume of work. These teams utilize heavy-duty airless sprayers to quickly coat massive expanses of drywall, apply specialized dryfall paint to intricate open-web steel ceilings, and cut in precise trim work. Furthermore, they can apply heavy-duty, scuff-resistant coatings in high-traffic corridors and stairwells, ensuring the building maintains a crisp, brand-ready, and professional aesthetic long after the grand opening.
Conclusion
Successfully managing a commercial property rehabilitation is a profound test of logistics, patience, and foresight. It requires taking a massive, complex structure down to its bare bones and strategically rebuilding it from the outside in. By strictly following a phased approach—beginning with deep environmental and structural assessments, immediately prioritizing the weatherproofing of the exterior envelope, methodically overhauling the electrical and plumbing infrastructure, re-engineering the spatial layout for modern demands, and finally applying high-end, durable finishes—you create a predictable path through the chaos of construction.
Skipping steps or attempting to rush the chronological sequence of trades will inevitably result in compounding errors, blown budgets, and a finished product that fails to meet the expectations of the modern commercial real estate market. The secret to a profitable rehab is not cutting corners, but rather investing heavily in the planning stages and surrounding yourself with highly specialized, thoroughly vetted professionals who understand the scale of the work.
A fully rehabilitated commercial space is more than just a renewed asset; it is an economic driver for the community and a highly attractive, long-term investment. Take the time to build your vendor lists meticulously, maintain strict adherence to your project management timelines, and approach every phase with an eye toward safety, efficiency, and uncompromising quality.